All Sections

Day 5: Steens Mountain and the Alvord Desert

Summit drive, bike riding on the playa, and a night at the Alvord hot springs under the stars.

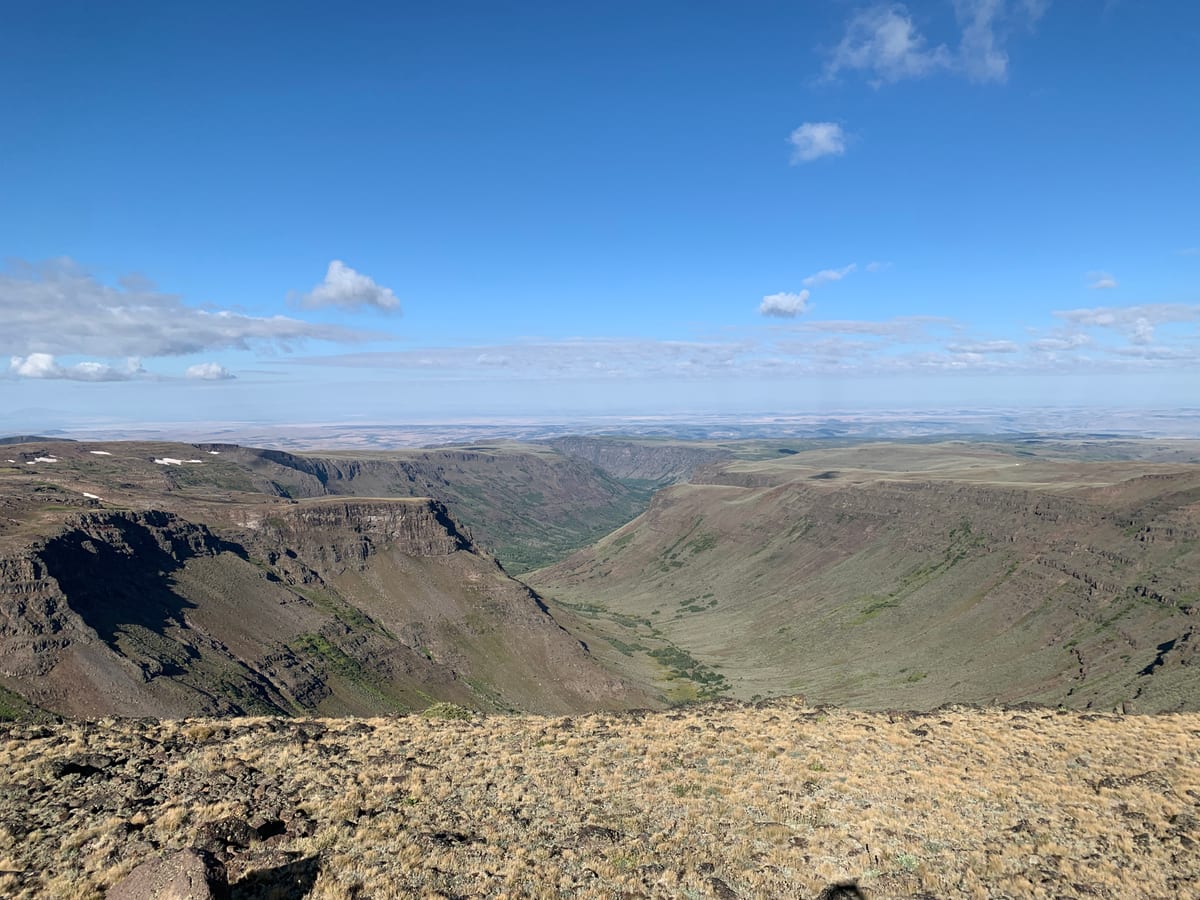
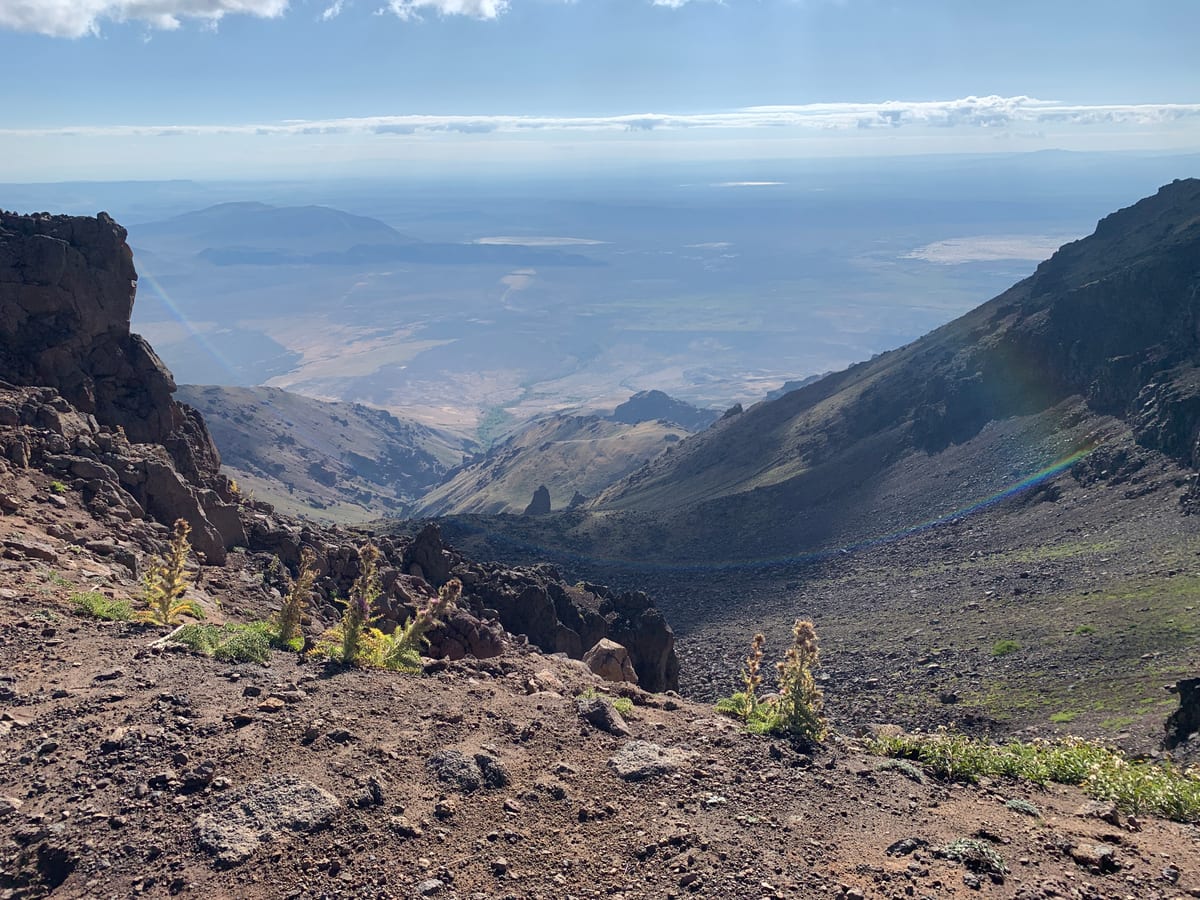
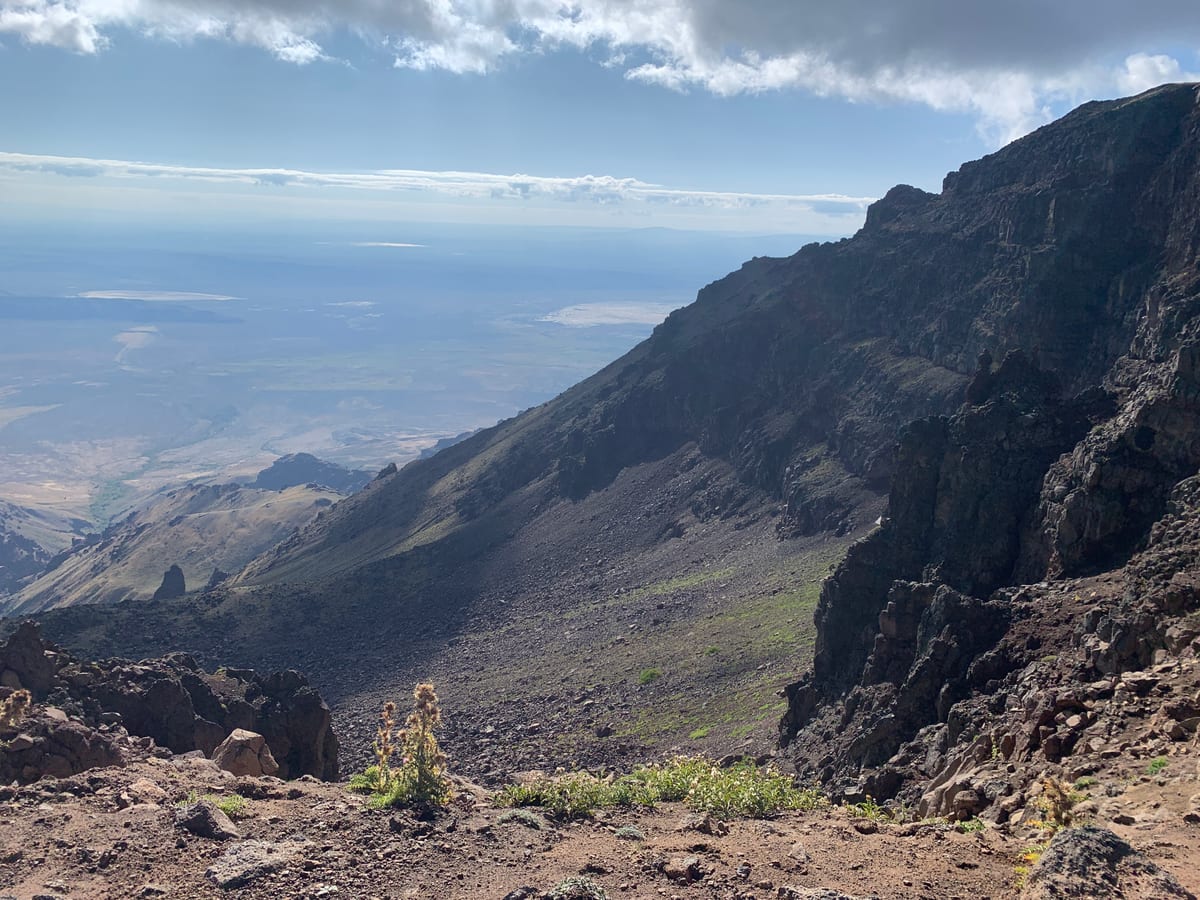
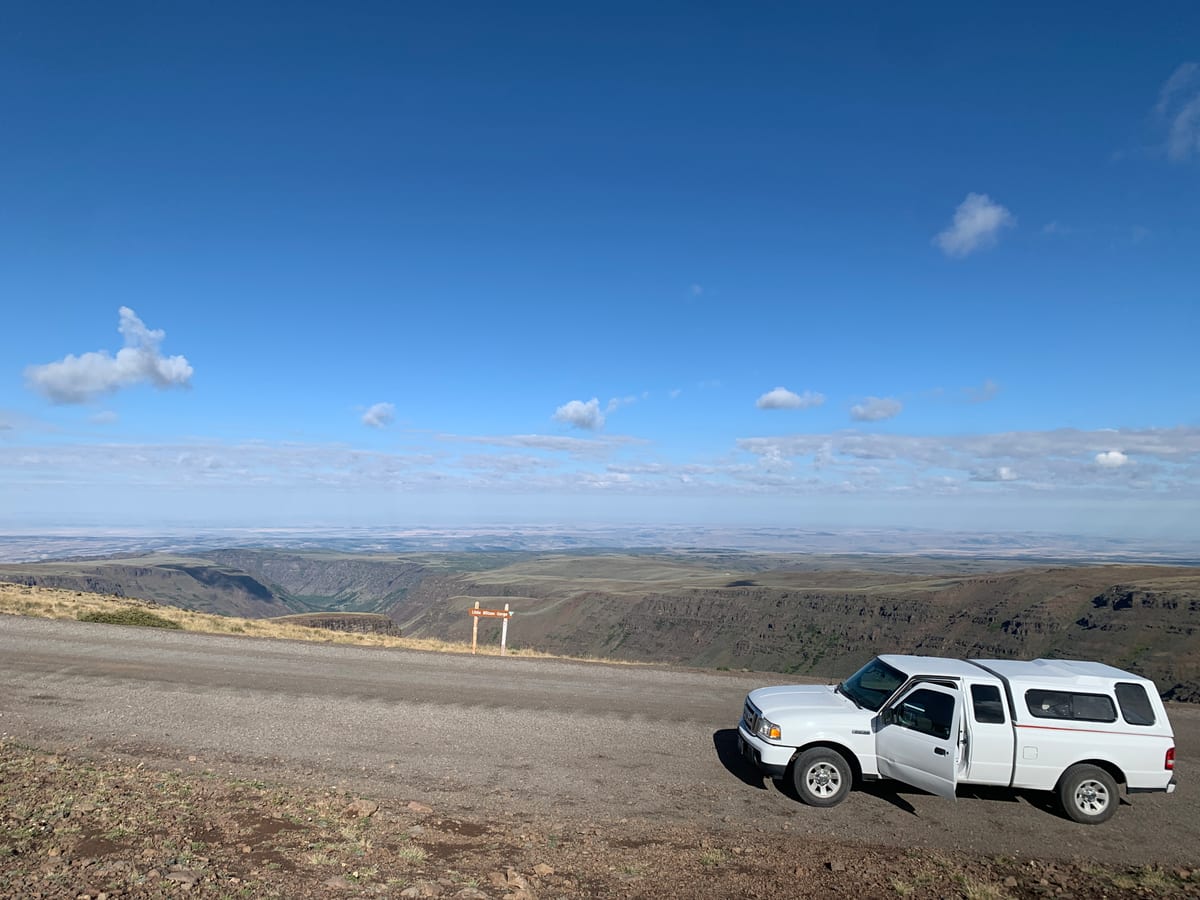
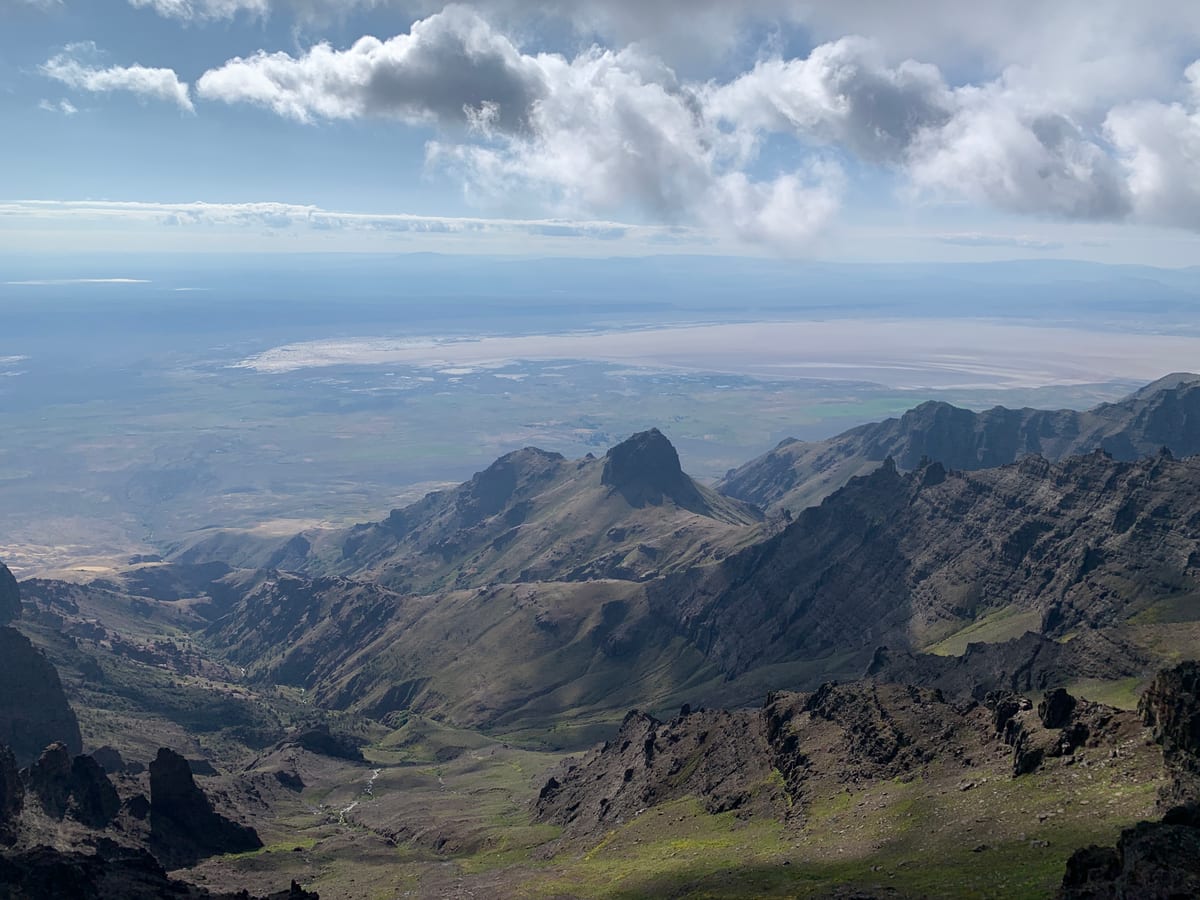
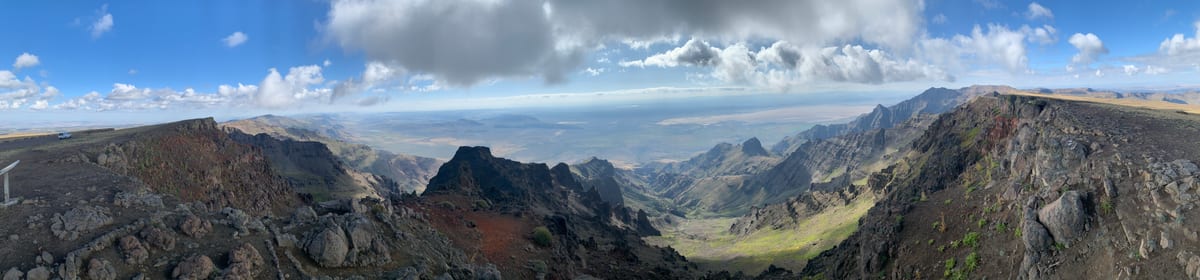
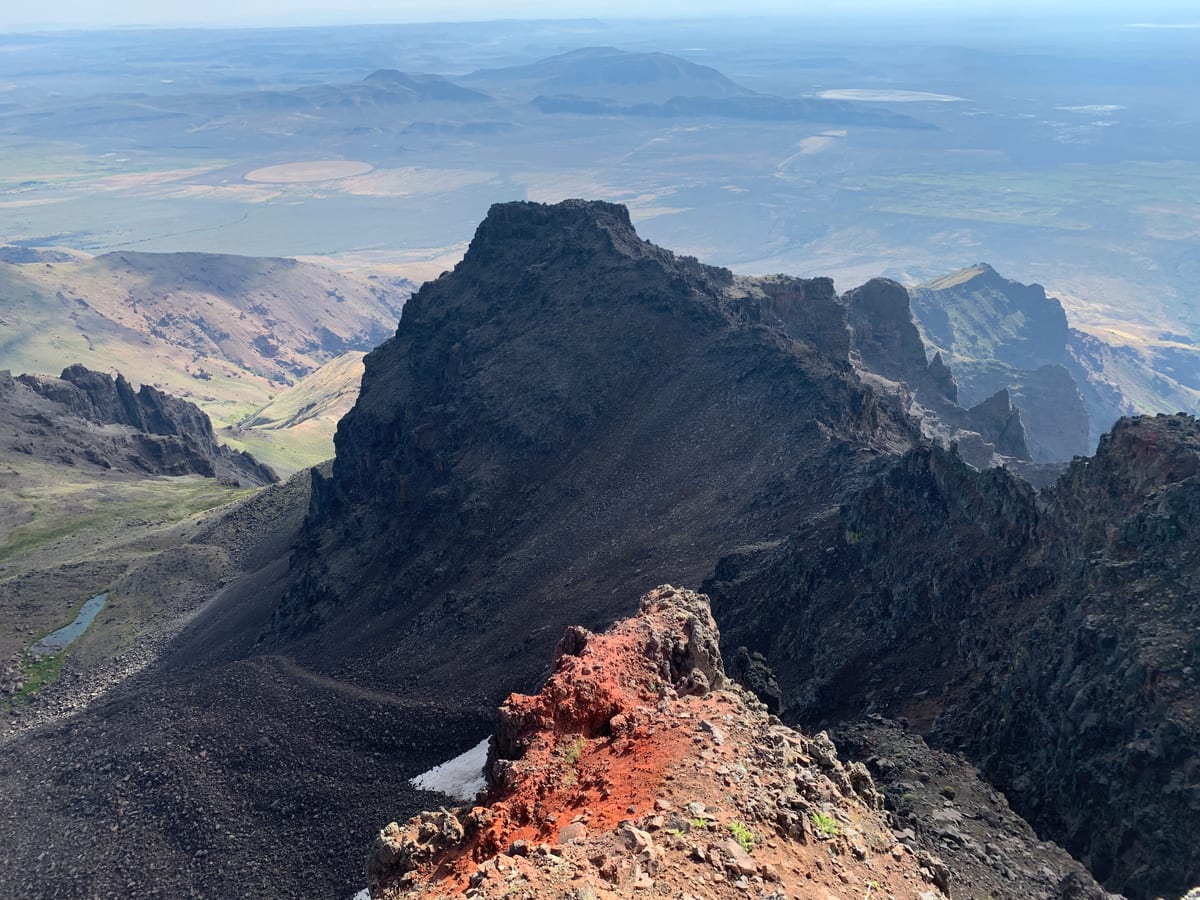
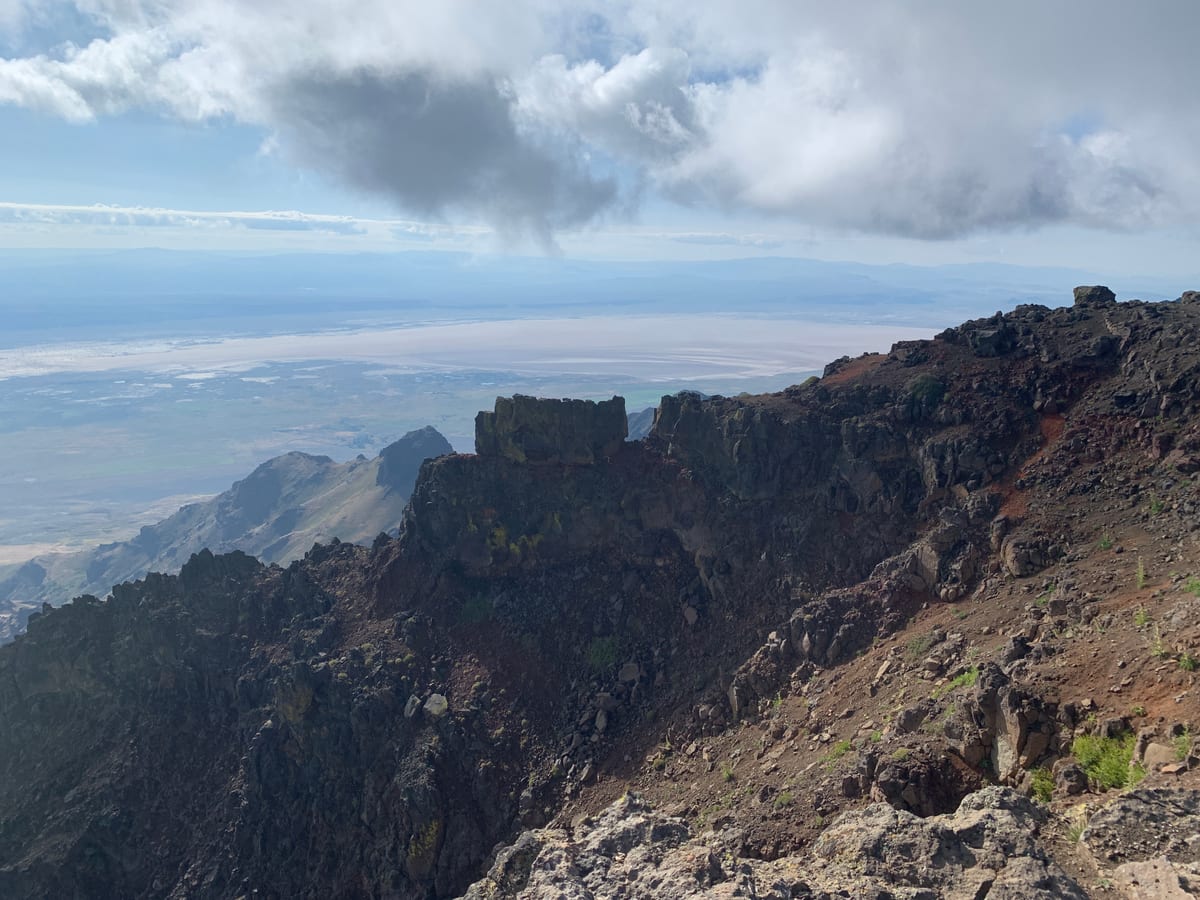
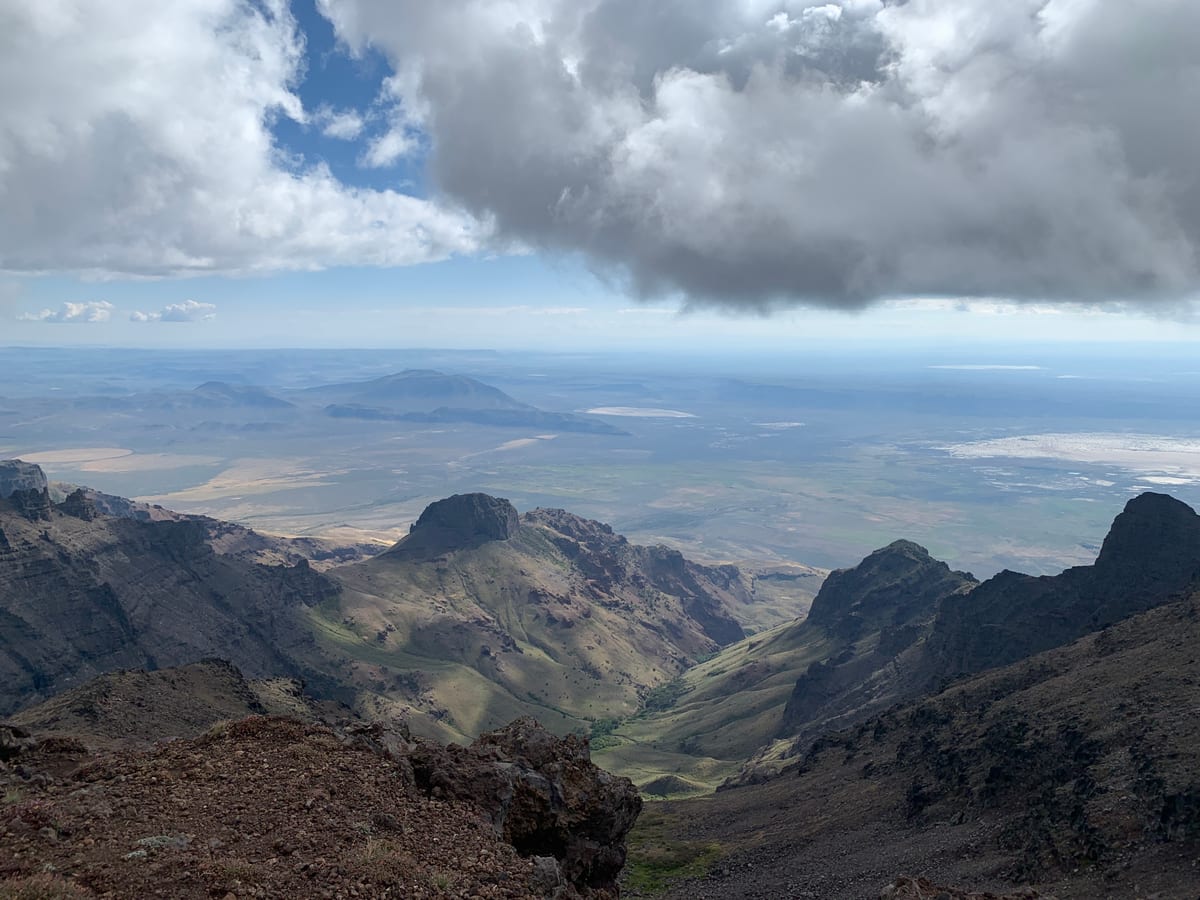
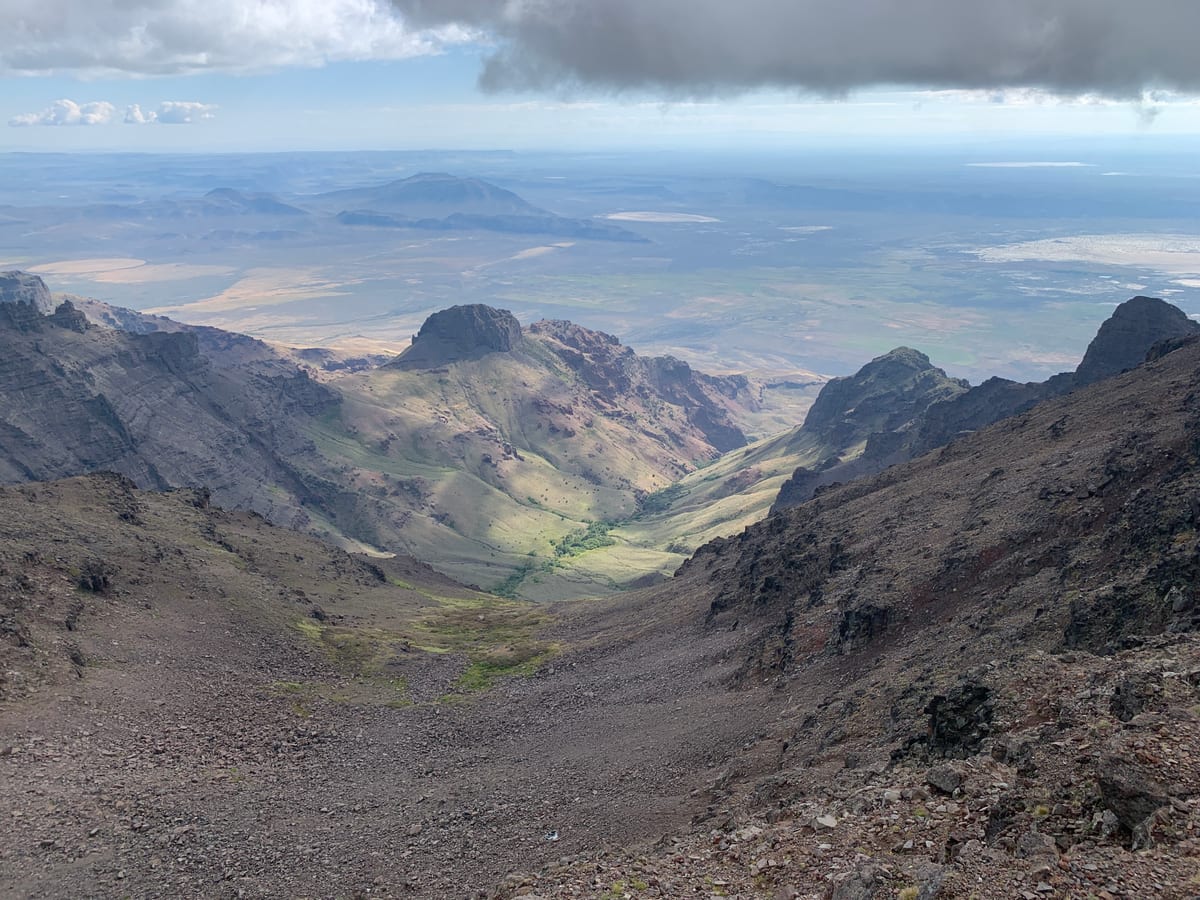
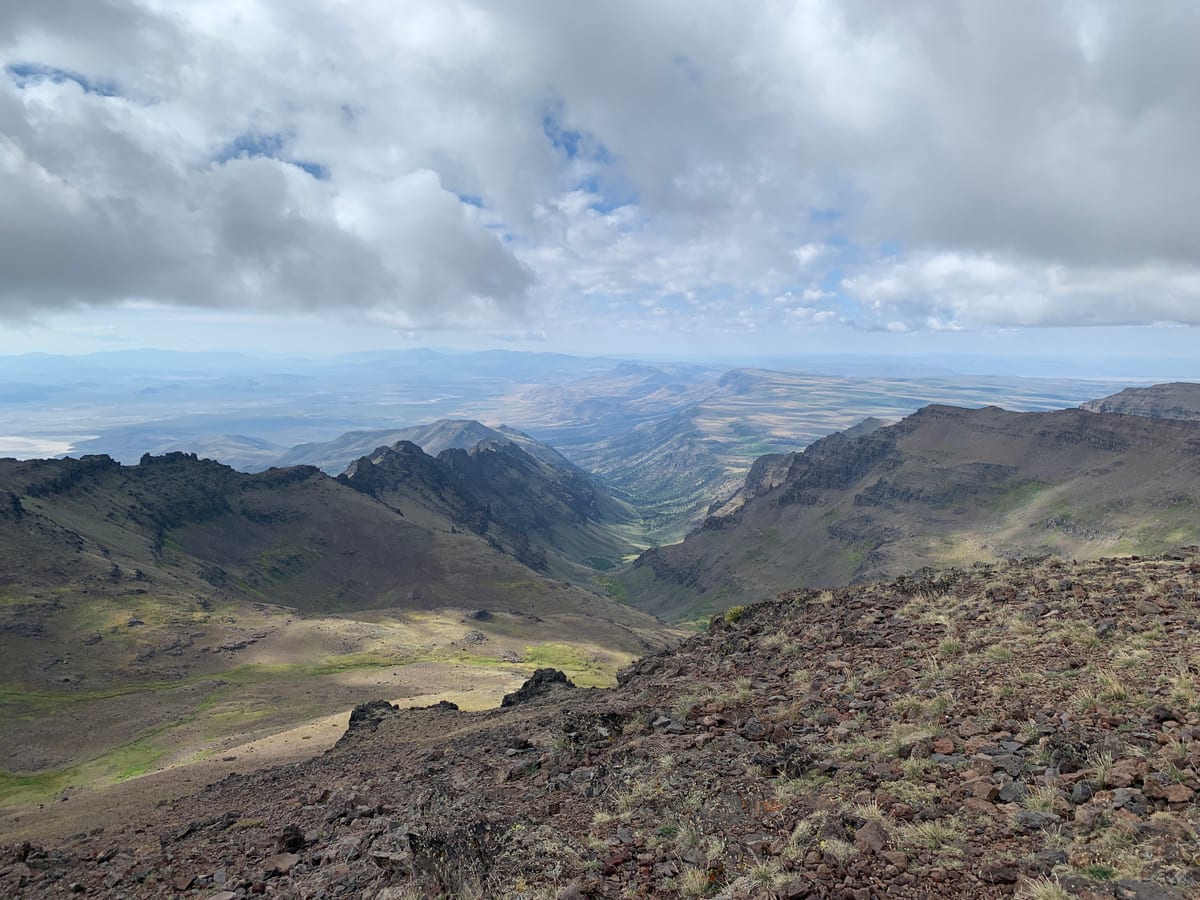
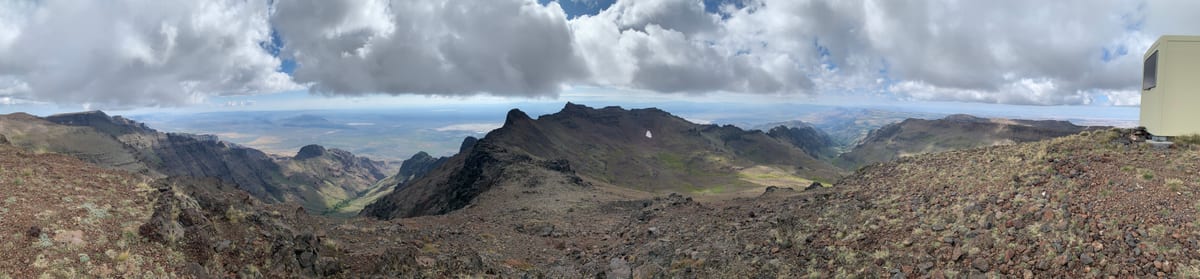
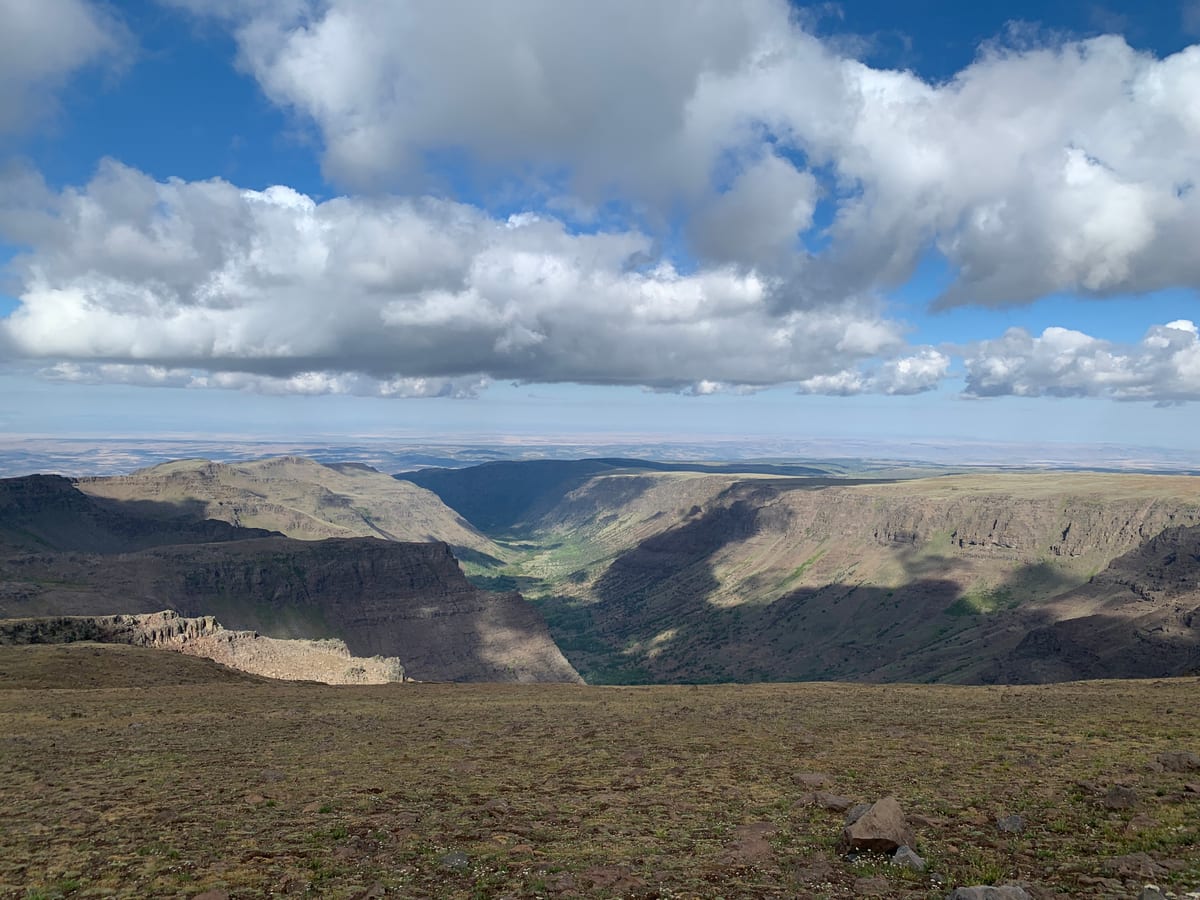
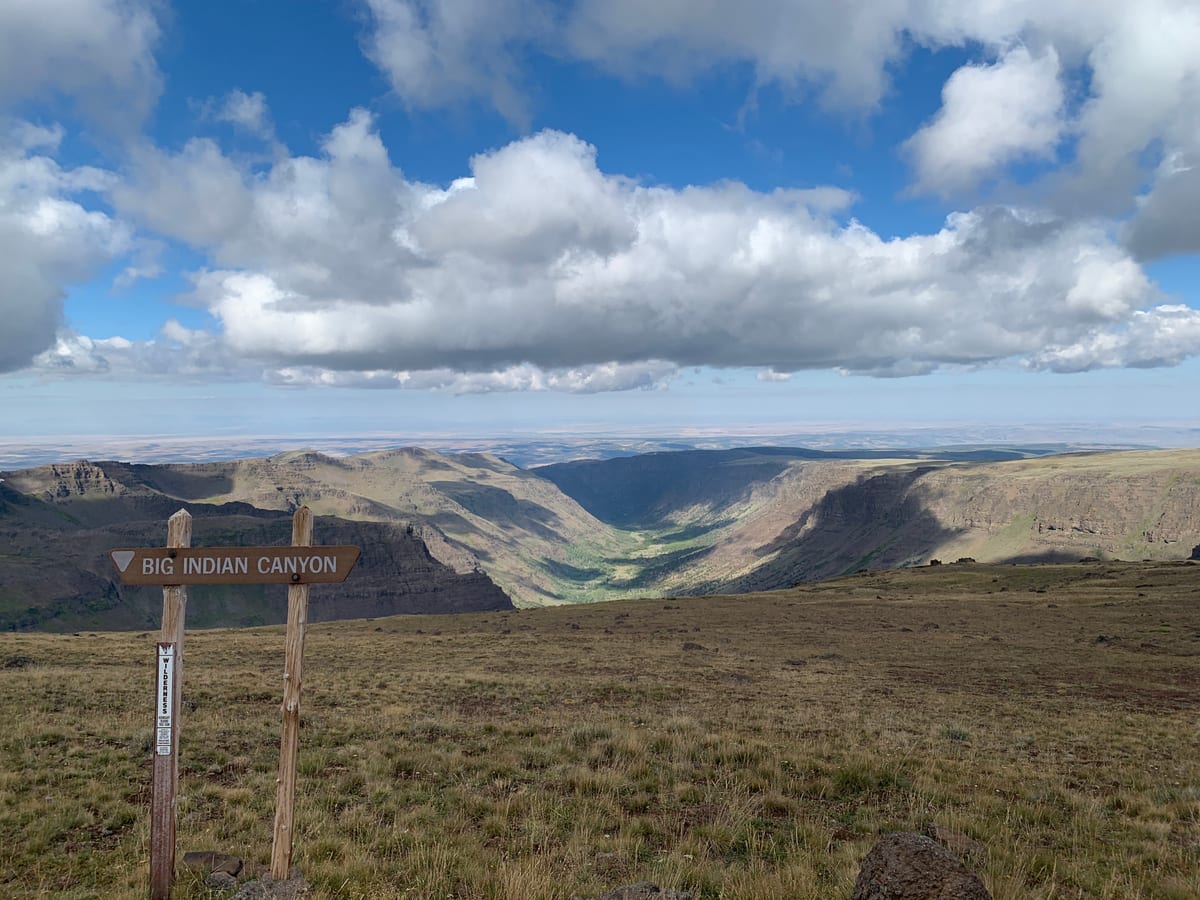
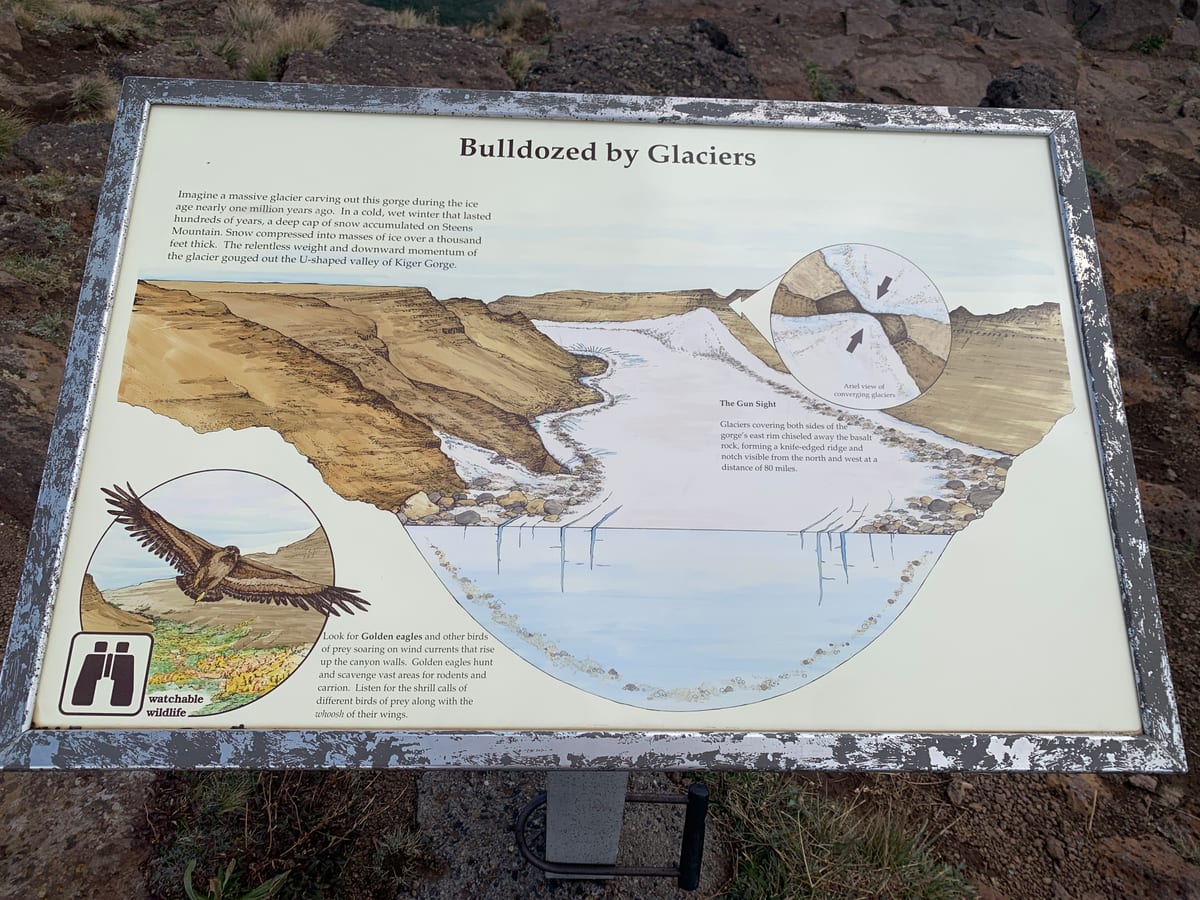
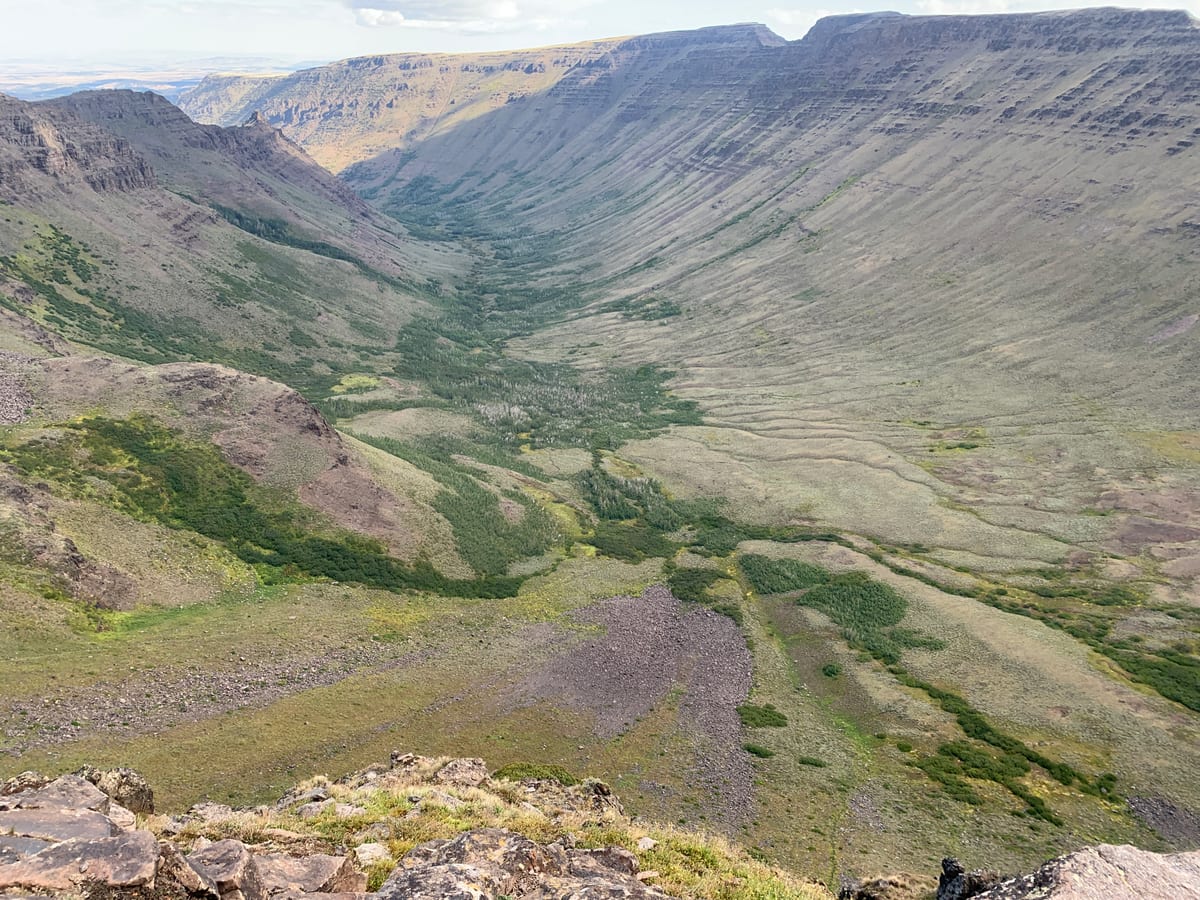
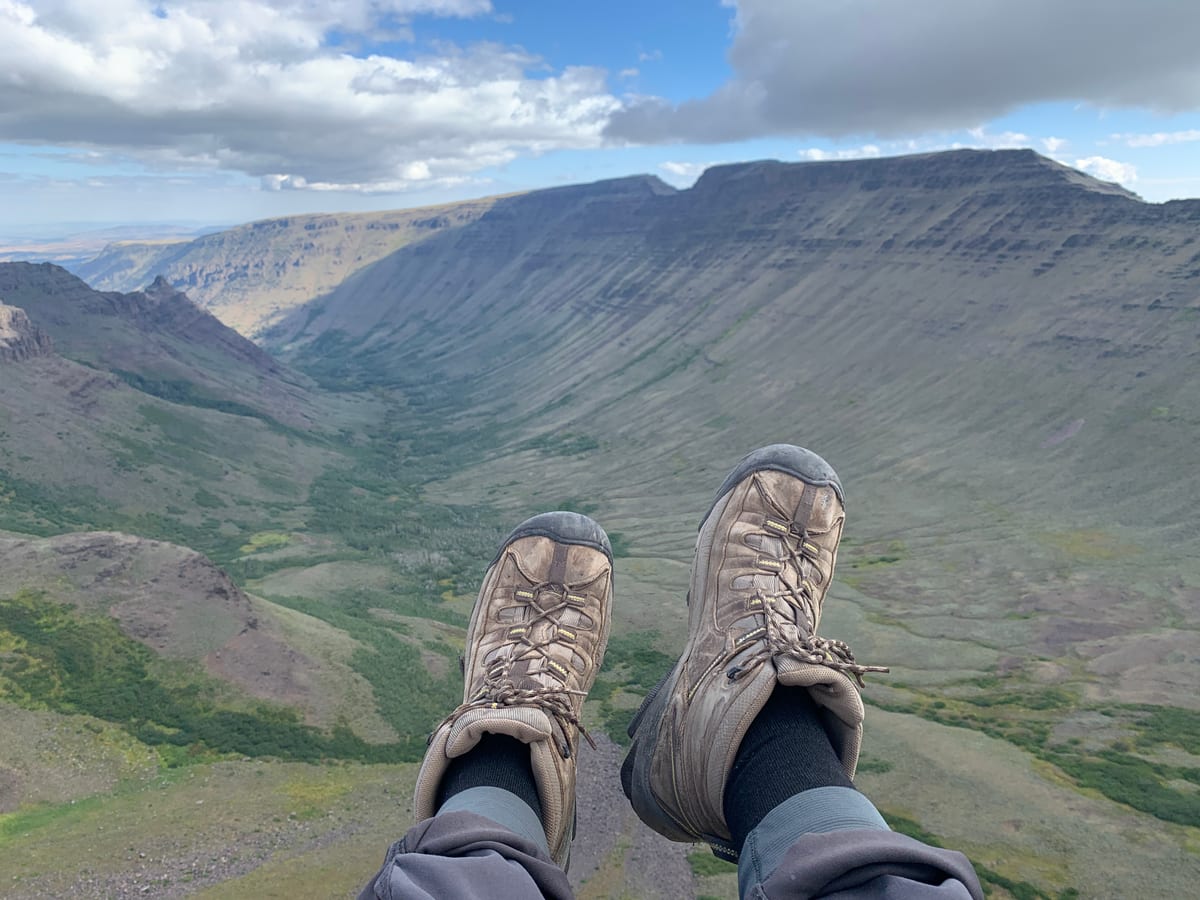
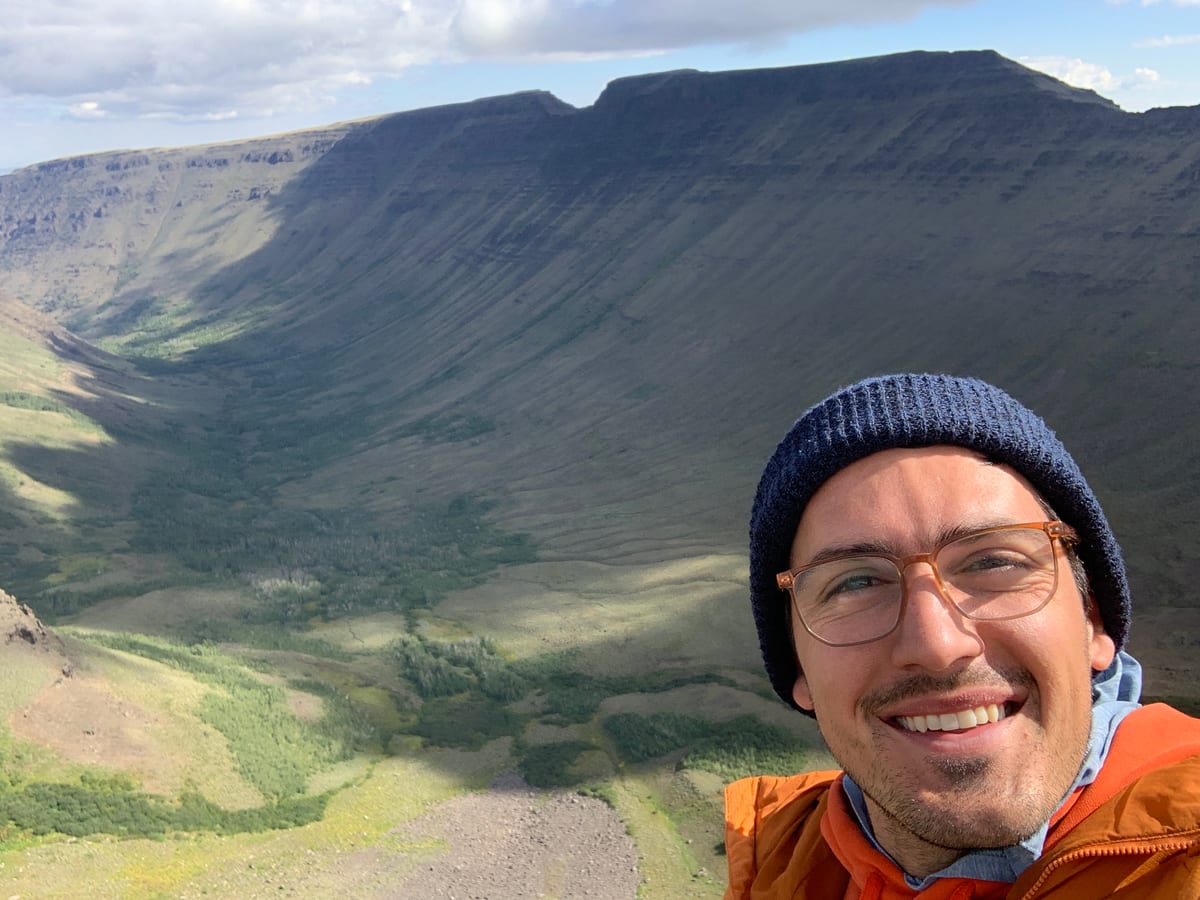
I started my morning at Page Springs Campground west of Steens Mountain. I got gas and then did the ~30-mile drive to the top of Steens. Most of the drive was uneventful — you barely realize you’re going up in elevation until you get to the top and are treated with the drastic drop-off on the other side. Here I got my first look at the Alvord Desert, visible in some photos from the top of Steens. The wide, glacially carved valleys are quite the sight, and the fact that everything is drivable makes Steens Mountain a great destination, other than being so remote.

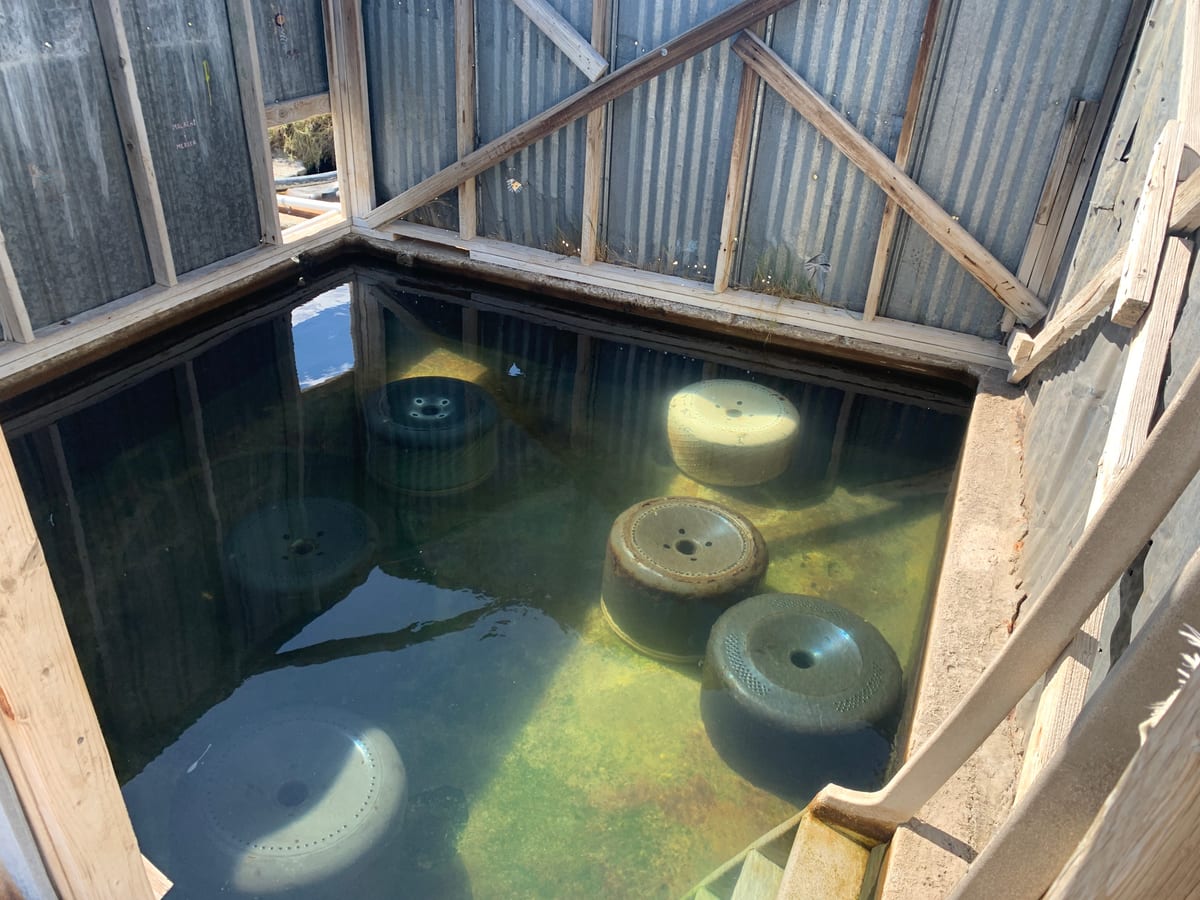
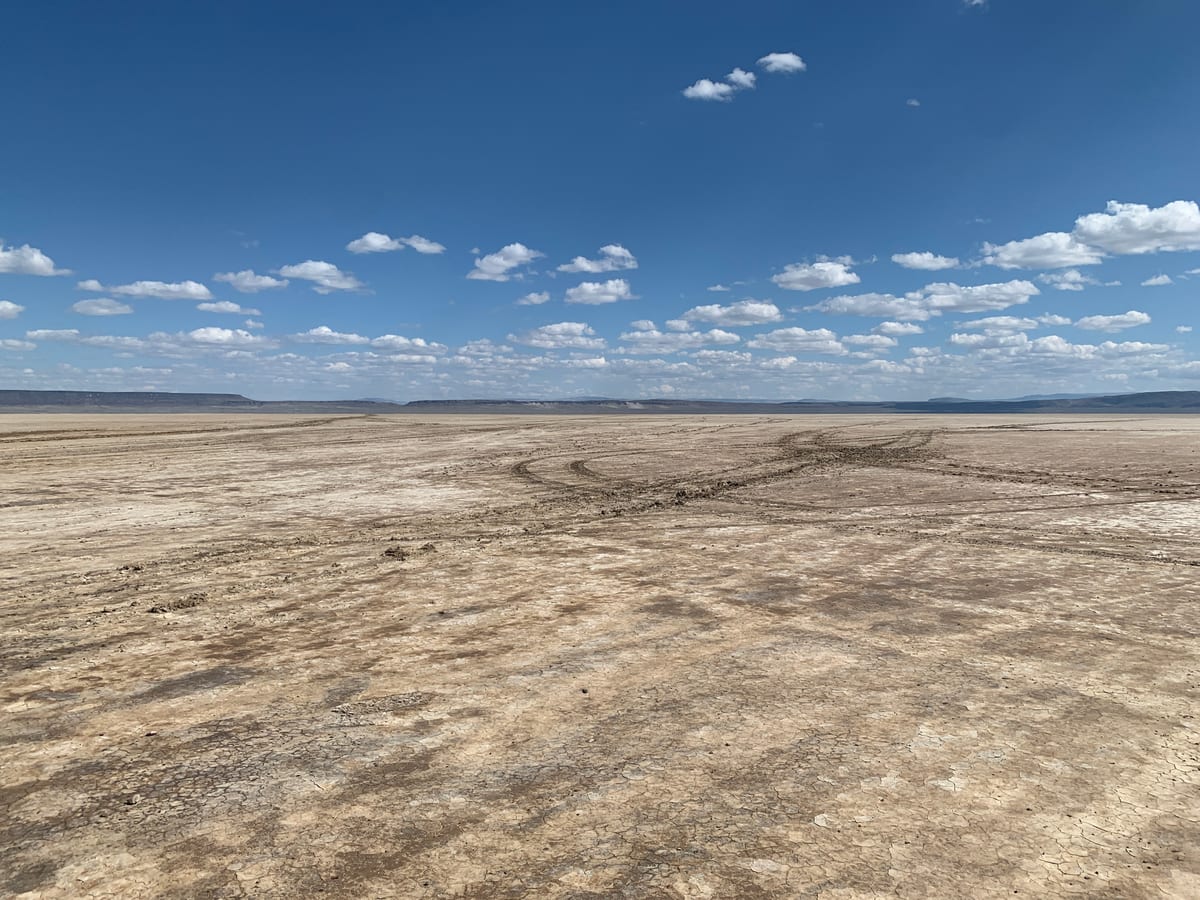
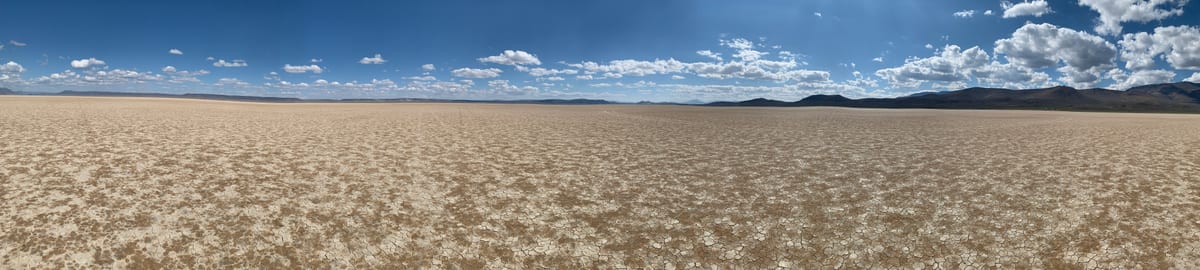
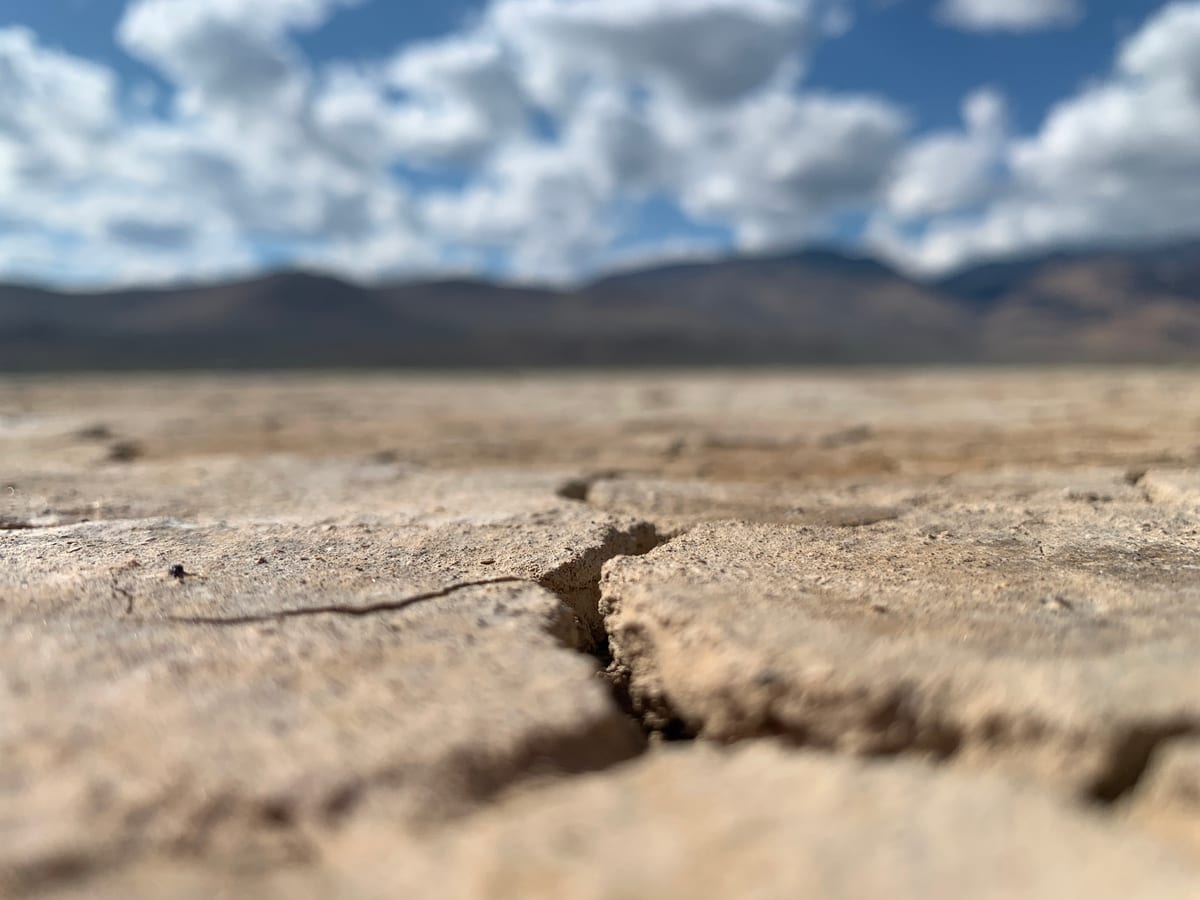
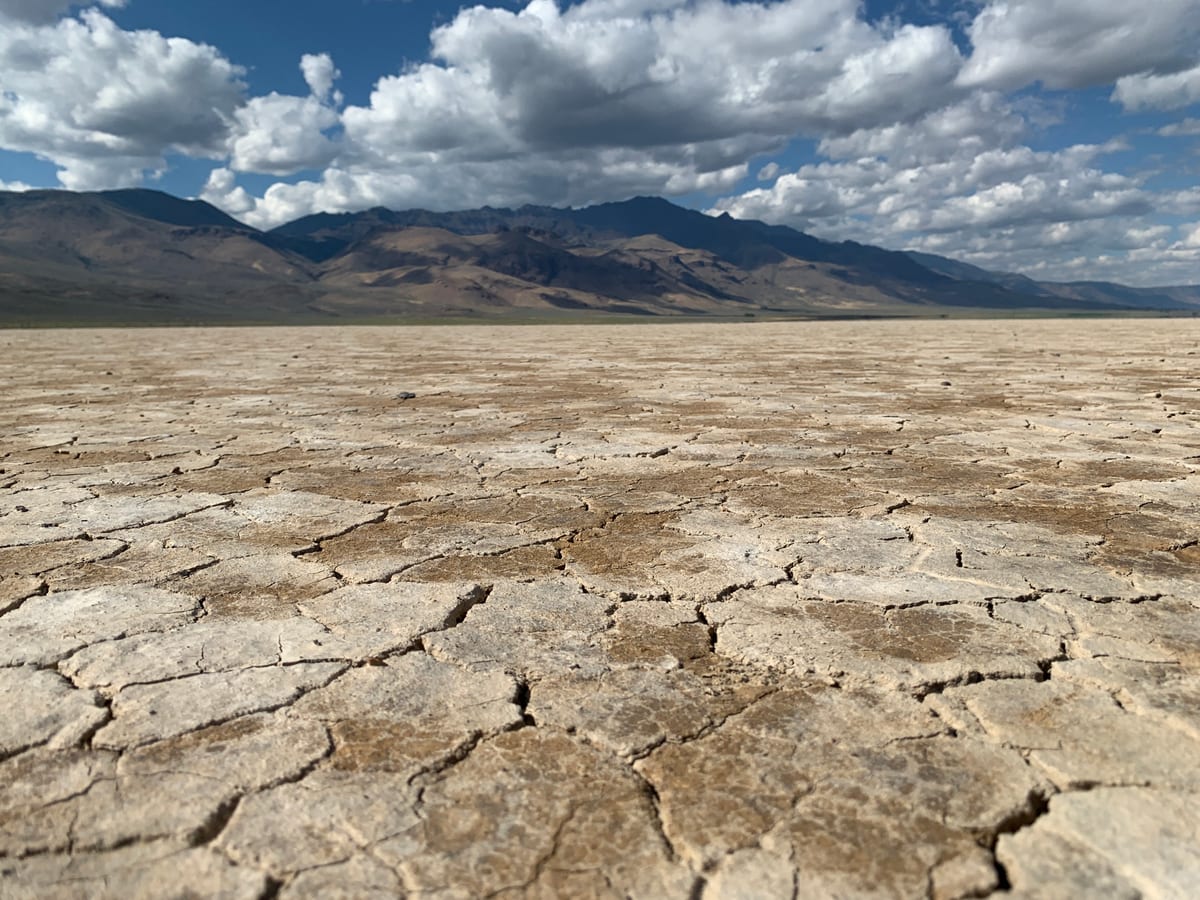
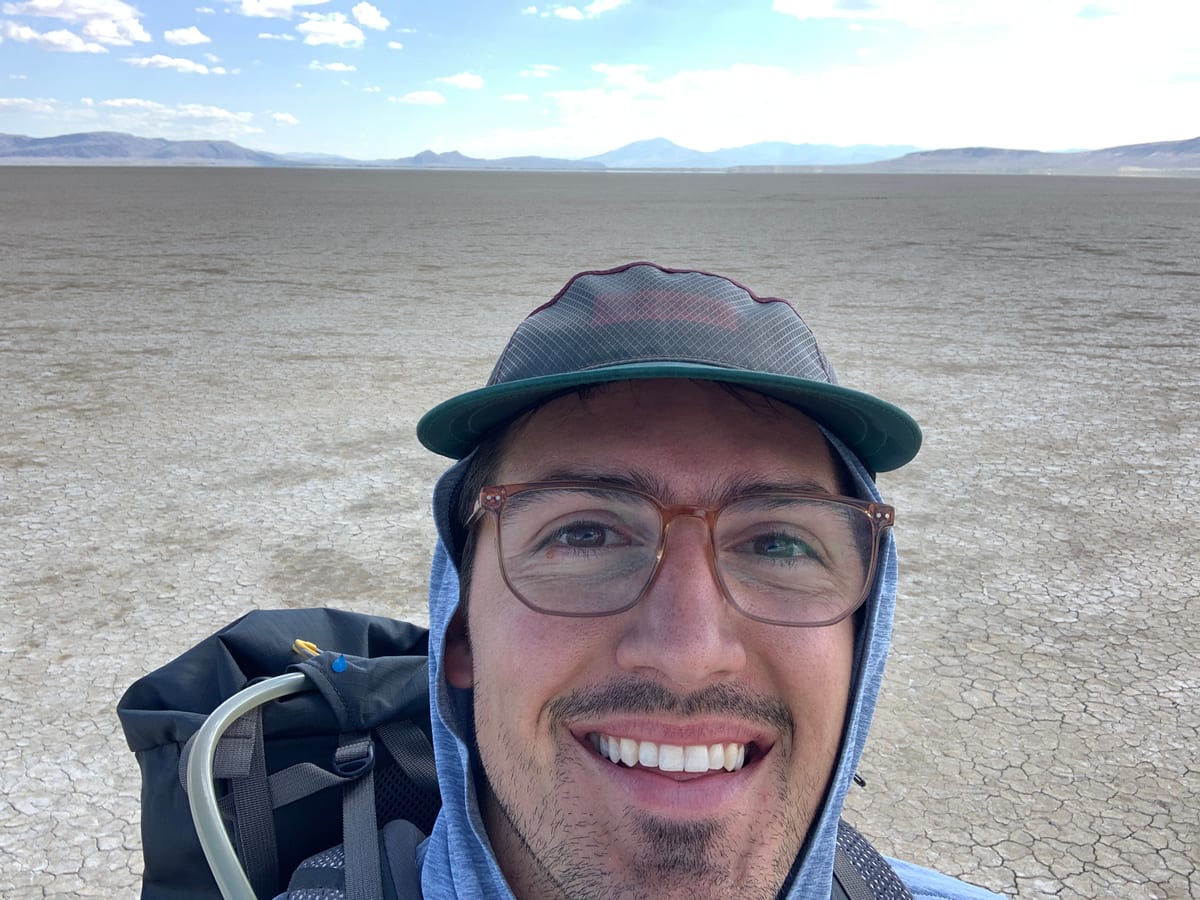
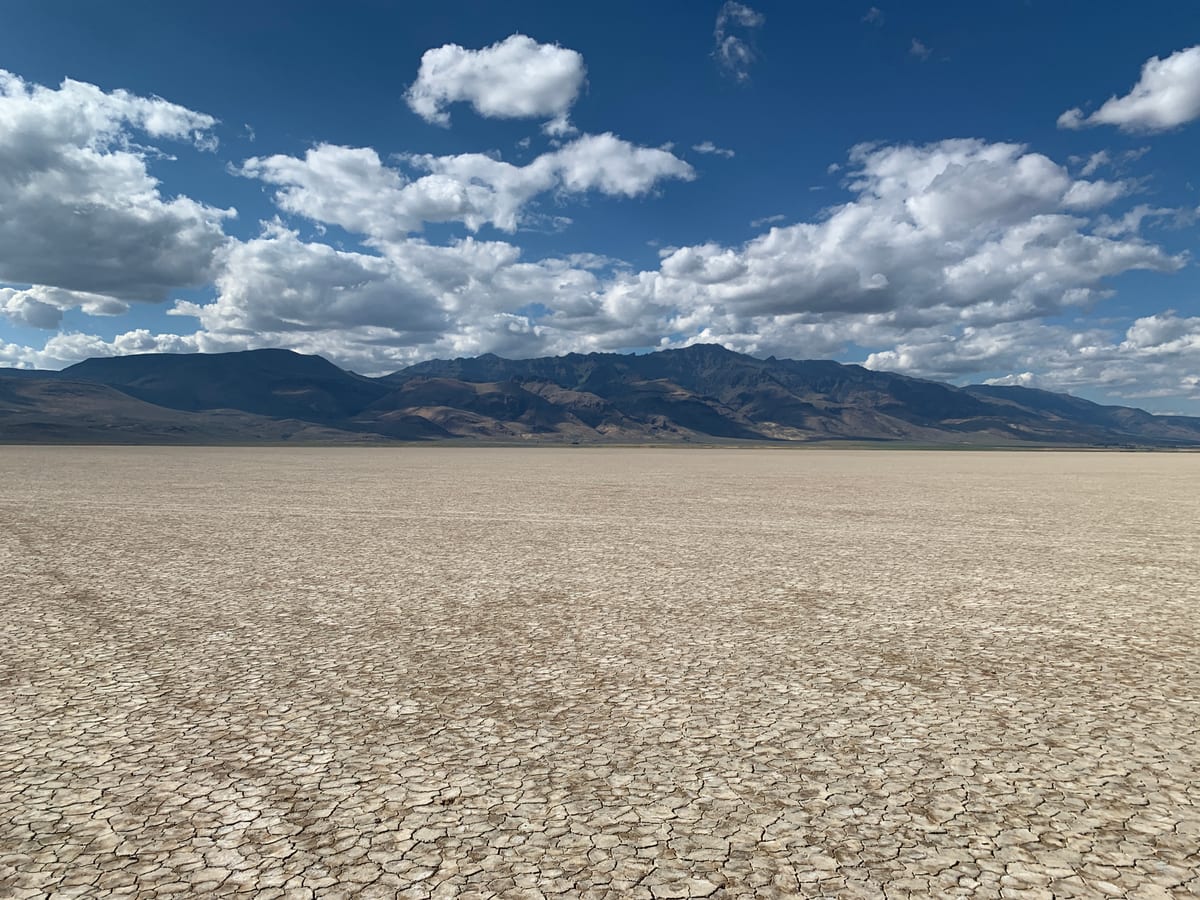
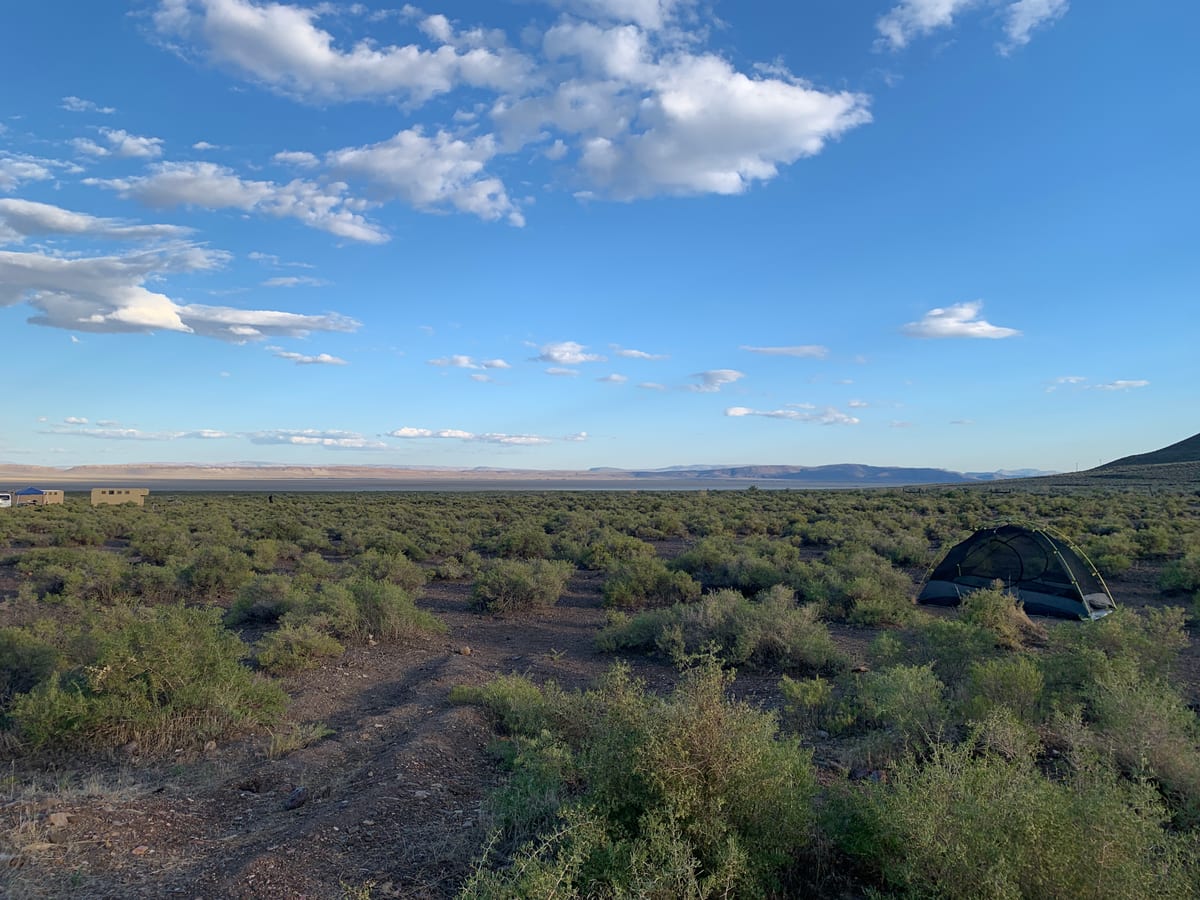
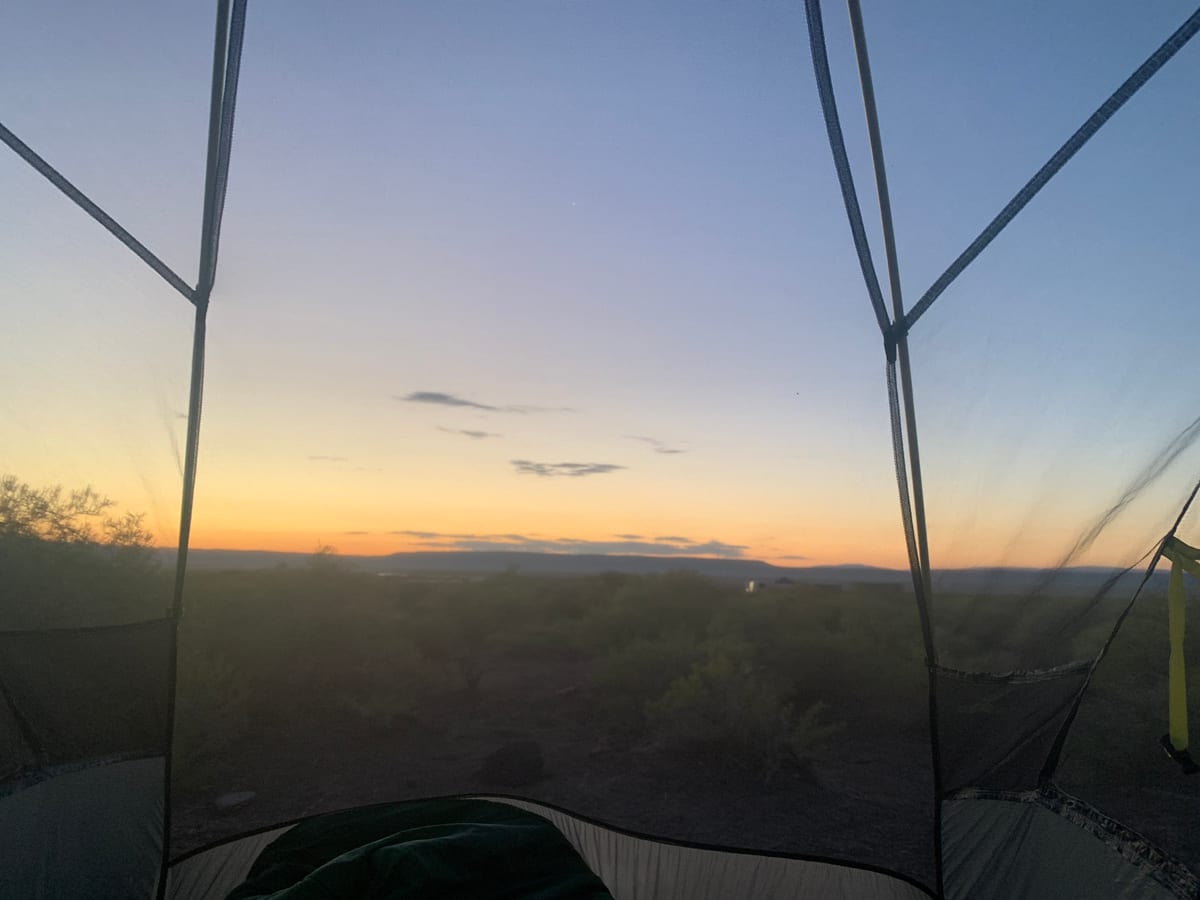
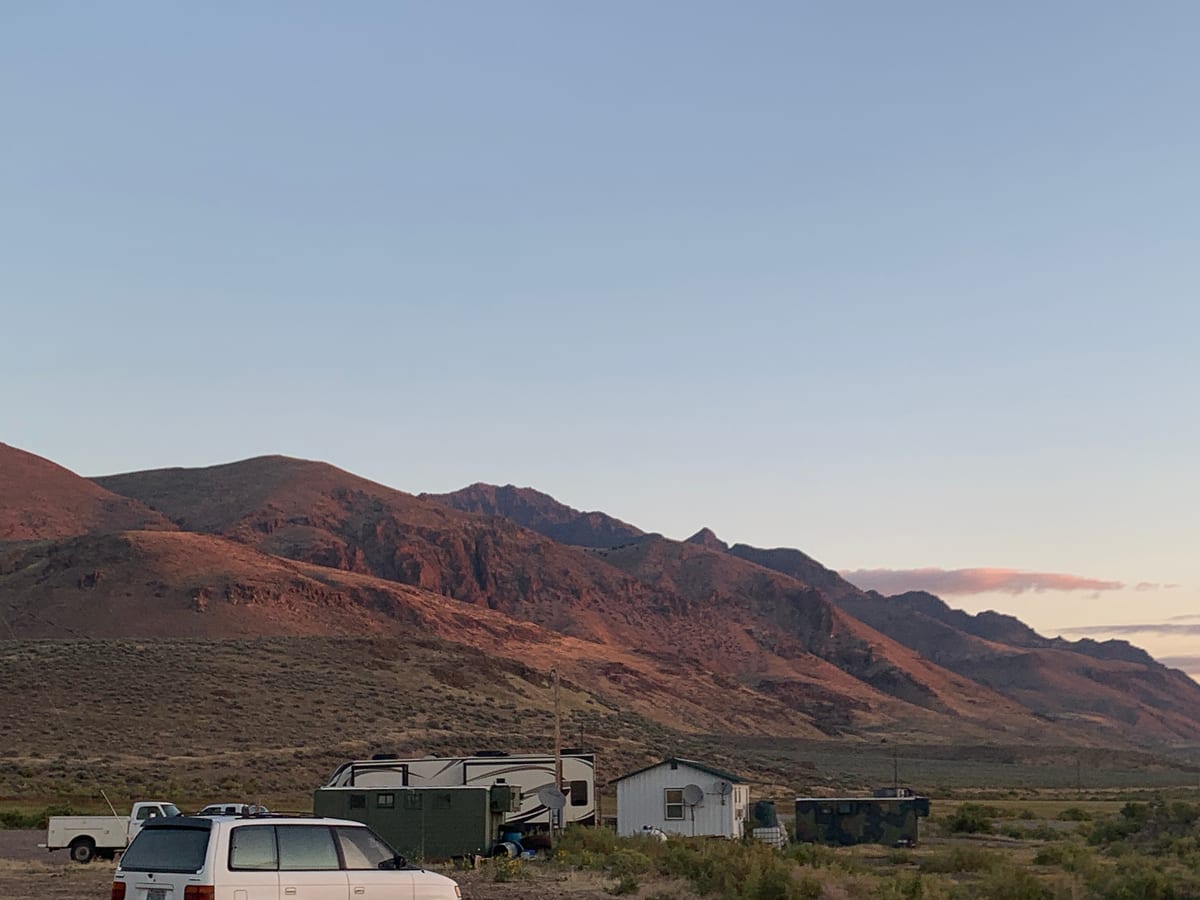
Around lunch, I drove back down and then around the south side of the mountain range to get to the Alvord Desert. Steens Mountain creates a rain shadow to the east, making the Alvord Desert. I spent the afternoon on my bike riding around and chasing shadows. I rode in a spiral for 45 minutes but realized after the fact that my phone wasn’t tracking my GPS so there’s no evidence of that! I spent the night under the stars at the Alvord Hot Spring and campground. The hot springs were a treat, and the temperature never dropped below 60°F.

Day 5: Steens Mountain and the Alvord Desert — photo 1
Day 5: Steens Mountain and the Alvord Desert — photo 2
Day 5: Steens Mountain and the Alvord Desert — photo 3
Day 5: Steens Mountain and the Alvord Desert — photo 4
Day 5: Steens Mountain and the Alvord Desert — photo 5
Day 5: Steens Mountain and the Alvord Desert — photo 6
Day 5: Steens Mountain and the Alvord Desert — photo 7
Day 5: Steens Mountain and the Alvord Desert — photo 8
Day 5: Steens Mountain and the Alvord Desert — photo 9
Day 5: Steens Mountain and the Alvord Desert — photo 10
Day 5: Steens Mountain and the Alvord Desert — photo 11
Day 5: Steens Mountain and the Alvord Desert — photo 12
Day 5: Steens Mountain and the Alvord Desert — photo 13
Day 5: Steens Mountain and the Alvord Desert — photo 14
Day 5: Steens Mountain and the Alvord Desert — photo 15
Day 5: Steens Mountain and the Alvord Desert — photo 16
Day 5: Steens Mountain and the Alvord Desert — photo 17
Day 5: Steens Mountain and the Alvord Desert — photo 18
Day 5: Steens Mountain and the Alvord Desert — photo 19
Day 5: Steens Mountain and the Alvord Desert — photo 20
Day 5: Steens Mountain and the Alvord Desert — photo 21
Day 5: Steens Mountain and the Alvord Desert — photo 22
Day 5: Steens Mountain and the Alvord Desert — photo 23
Day 5: Steens Mountain and the Alvord Desert — photo 24
Day 5: Steens Mountain and the Alvord Desert — photo 25
Day 5: Steens Mountain and the Alvord Desert — photo 26
Day 5: Steens Mountain and the Alvord Desert — photo 27
Day 5: Steens Mountain and the Alvord Desert — photo 28
Day 5: Steens Mountain and the Alvord Desert — photo 29
Day 5: Steens Mountain and the Alvord Desert — photo 30
Day 5: Steens Mountain and the Alvord Desert — photo 31
Day 5: Steens Mountain and the Alvord Desert — photo 32
Day 5: Steens Mountain and the Alvord Desert — photo 33